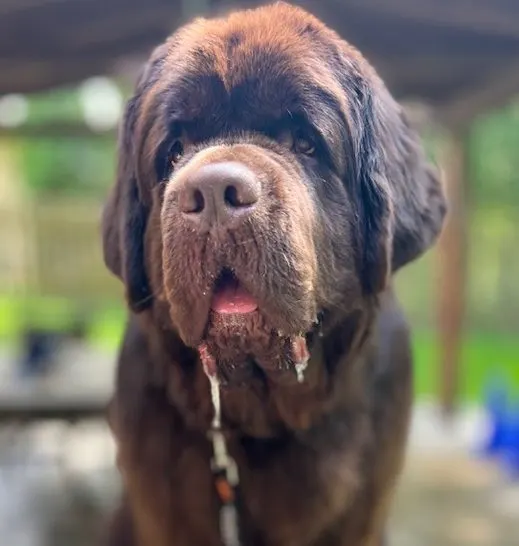
Ear trimming on a Newfoundland is an important part of the grooming process.
Newfies have big, heavy ears and they are prone to ear infections so keeping the ear hair neatly trimmed can allow for better airflow to the ear canal, reduce mats and keep debris from building up.
If you’re interested in trimming your dog’s ears at home, I’ve put together a simple outline showing how I’ve done it.

Grooming Tools Needed To Trim The Ears
Thinning shears
40-tooth thinning shears.
You can use shears with fewer or more teeth just remember that the fewer teeth, the choppier the cut will be.
The more teeth you have the more blended the cut will be.
When using thinning shears, keep in mind that while they only have one straight blade on the bottom, they can still cut the skin. (I sliced my finger pretty good a few weeks by not paying attention and it was the first time that I’ve ever had a grooming accident.)
If you’re comfortable using straight or curved shears, you can use those to trim the outer edge of the ear.
Thinning shears can be expensive but if you’re not ready to drop a lot of money, you can get a decent pair of thinning shears from any beauty supply store.
If you’re not ready to use scissors, you can also use a de-matting tool.

We hope that you like the products we featured in today’s post. Just so we’re clear, My Brown Newfies is a participant in the Amazon LLC Associates Program, an affiliate advertising program designed to provide a means for sites to earn advertising fees by advertising and linking to Amazon.com and other affiliate programs:)
These tools are made to thin out the hair so it’s a good and safe option for the ears.
I have an Andis Deshedding Tool that I use a lot.
Pin brush, slicker brush or greyhound comb
You’ll need something to comb and fluff the ear as you’re trimming.
You can use a pin brush or any of your dog combs.
I like using a finishing comb but it’s a personal preference.
Grooming table
A grooming table is optional but you definitely can do the trimming on the floor if your dog will lay still for you while you do it.
Before Trimming the Ear
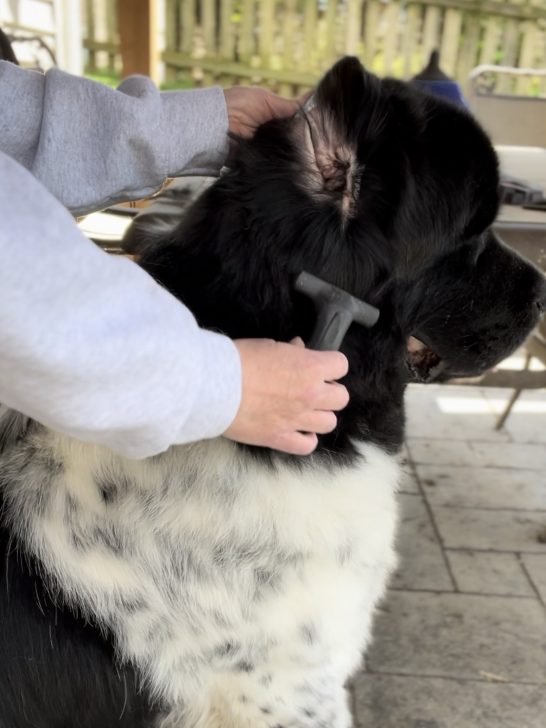
Before you dive into trimming, make sure to comb through the hair around, under and on top of the ears to check for any mats or tangles.
Ear mats love to hang right underneath the ear of a Newfoundland so make sure that you feel around your Newfie’s ears before trimming.
If you find a mat, it’s o.k.!
I don’t know a Newfie that hasn’t had an ear mat or 5 in their lifetime.
You can gently use a mat splitter, straight shears, or electric clippers or you can use some diluted conditioner like Pro-Gro and gently try to work the mat out.
For small mats, you can try the cornstarch method which works great!
Trimming the Outer Edge of the Ear
Once you have the hair around the ears combed well, you can start to trim.
I like to start trimming the underneath of the ear so grab the ear and hold it up or out with your non-scissoring hand.
Slowly begin to trim the outline of the ear removing all the stray hairs.
Take your time as you trim and comb as needed until the hair is flush with the edge of the ear.

Don’t be afraid to stop and take a step back and look at the ear!
Next, set the ear down, comb the hair down and trim the outside of the ear.
You can also place the ear on the palm of your non-scissoring hand and trim the edge of the ear using that method.
This may be easier for some to see the edge of the ear and the stray hairs.
The tips of the ear on a Newfie are suppose to be rounded, not pointed.
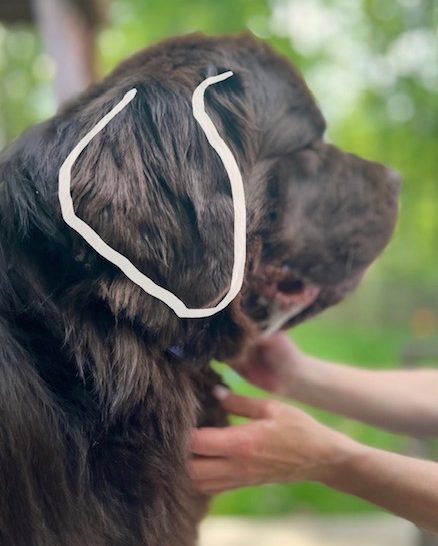
Trimming the Flap of the Ear
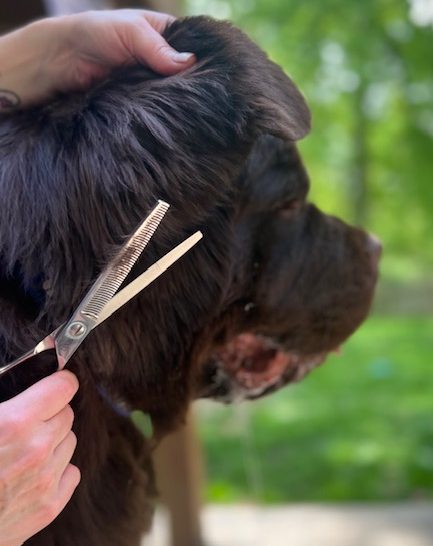
Next, use your comb or brush and brush the hair on the flap of the ear up, against the natural way that it lays.
With your thinning shears pointing down, begin to trim the excess hair on the ears slowly.
It’s usually easiest to do this when you’re behind or on the side of the ear.
Don’t worry if you’re in front of the dog and have the thinning shears pointing up, it’s not that big of a deal but I was always taught to trim down rather than up.
Trimming down is said to give a more blended look but always do what is most comfortable for you.
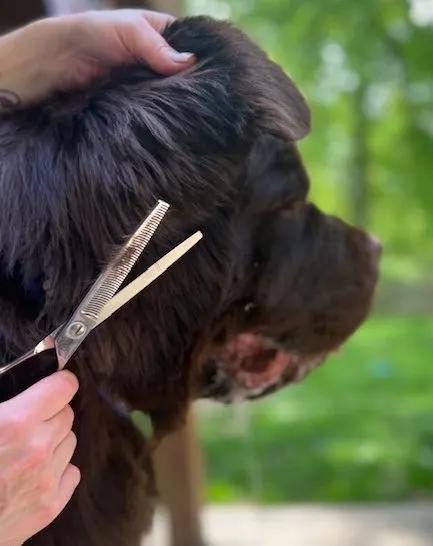
How much hair you take off will depend on how overgrown the hair on your Newf’s ear is.
Some may need only a few snips while others may need to have a few layers thinned out.
Make sure that you take the time to step back and look at the ears and see how they look keeping in mind that you don’t want to thin the hair to the skin.
The hair on a Newfie’s ear should be longer towards the top and thinner as you work down but since this isn’t a show trim you can trim it all the same length.
Trimming Under the Ear
Lastly, you’ll want to trim the excess and greasy hair under the ear.
Comb through the underneath of the ear with your greyhound comb to make sure that there aren’t any mats that were left behind and with the shears pointing down thin out the hair.
You can hold the ear with your non-scissoring hand or have another person gently hold the ear for you.
You’ll want to thin out as much of that greasy hair as possible and then blend the hair into the neck.


While you’re in that area you’ll also want to trim down the hair on the underside of the ear flap and any long hair that is blocking the canal.
You don’t want to go in the canal, just trim the long wispy hairs that are around that area.
Be careful and go slow in this area because it’s often a ticklish and sensitive area and the dog may tend to shake their head without warning.
This is why I don’t recommend using straight shears if you’re just beginning with trimming.
An unexpected head shake from a Newf can definitely make you jump and jumping isn’t recommended when holding straight shears so close to a dog’s ear.
And you’re done!
If this is your first time trimming, take it slow and remember to step back and look at your work several times to see where you are.
If you don’t take off enough, try again next week.
If you got a little too excited and took too much off, it’ll grow back fast!
For more good videos on how to trim your Newfie’s ears, check out these videos on YouTube:
Where to Buy Thinning Shears
Thinning shears can be bought at certain pet stores, farm stores such as Tractor Supply, beauty supply stores, dog shows or online at Amazon, Pet Edge, Cherrybrook, or Chris Christensen Grooming Supplies.
If you’re just starting out using thinning shears you don’t have to spend hundreds of dollars on shears.
I would recommend starting off with a less expensive pair that you can get from a beauty supply store for $30-$40.
You’ll want to make sure that they are comfortable for you to use and that they fit your hand well.
I only endorse and recommend products that I use or products that are highly recommended by my peers. Please don’t spend money on any of these products unless you believe they are best for you and your Newfoundland. Read our full privacy policy here.
Jan
Tuesday 16th of April 2019
Excellent--clear directions and pictures. You have obviously had a lot of experience in this.
Tails Around the Ranch
Monday 15th of April 2019
Excellent tutorial! Thanks for sharing your insight and experience.